 78e86e2751
- Increase main task stack to 16KB for Ed25519 crypto call chains - Heap-allocate SD restore buffer instead of stack-allocating 4KB - Remove redundant runtime table-size calls (already set by -D flags) |
||
|---|---|---|
| .github/workflows | ||
| assets | ||
| docs | ||
| src | ||
| .gitignore | ||
| LICENSE | ||
| partitions_8MB_ota.csv | ||
| platformio.ini | ||
| README.md | ||
ratcom
Encrypted mesh messenger for the M5Stack Cardputer
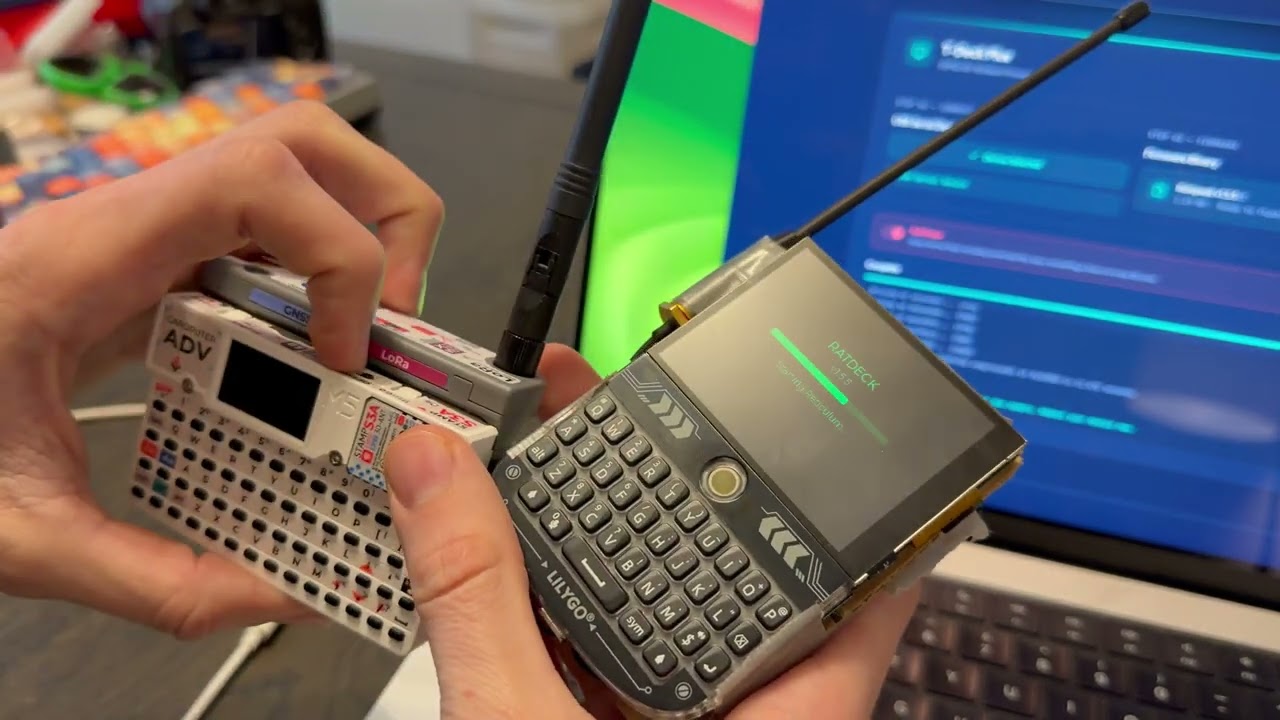
RatCom turns an M5Stack Cardputer Adv into a self-contained encrypted mesh node. It's not an RNode and it's not a gateway — it's a complete Reticulum instance with a keyboard and a screen that fits in your pocket.
You get end-to-end encrypted LXMF messaging over LoRa, WiFi TCP bridging to the wider Reticulum network, contact management, multiple swappable identities, and configurable radio — all without ever touching a config file.
Get one
- Buy an M5Stack Cardputer Adv (~$50 — M5Stack, AliExpress, or Amazon)
- Attach a 915 MHz LoRa antenna (SMA, included with some kits)
- Flash the firmware
Flash it
The easiest way is the web flasher — plug in USB, click flash, done.
To build from source:
git clone https://github.com/ratspeak/ratcom
cd ratcom
pip install platformio
python3 -m platformio run -e ratputer_915 -t upload
First build takes a couple minutes while PlatformIO pulls the ESP32-S3 toolchain. After that it's fast.
If upload fails at 921600 baud, use esptool directly at 460800. See docs/BUILDING.md for details.
Using it
On first boot, RatCom generates a Reticulum identity and drops you on the Home tab. Your LXMF address (a 32-character hex string) is what you share with people so they can reach you.
Tabs: Home, Messages, Nodes, Setup — navigate with , and / keys.
Sending a message: Select a node from the Nodes tab, press Enter, type, press Enter to send. Messages are encrypted end-to-end with Ed25519 signatures.
Radio presets (Settings → Radio):
- Long Range — SF12, 62.5 kHz, 22 dBm. Maximum distance, very slow.
- Balanced — SF9, 125 kHz, 17 dBm. Good default.
- Fast — SF7, 250 kHz, 14 dBm. Short range, quick transfers.
All radio parameters are individually tunable. Changes apply immediately, no reboot.
WiFi bridging
This is the killer feature for desktop users. RatCom can bridge your laptop to the LoRa mesh:
- Set WiFi to AP mode (creates
ratcom-XXXX, password:ratspeak) - Connect your laptop to that network
- Add to your Reticulum config:
[[ratcom]]
  type = TCPClientInterface
  target_host = 192.168.4.1
  target_port = 4242
Now your desktop Reticulum instance can reach the LoRa mesh through RatCom's radio.
Or use STA mode to connect RatCom to your existing WiFi and reach remote nodes like rns.ratspeak.org:4242.
Docs
The detailed stuff lives in docs/:
- Quick Start — first build, first boot, first message
- Building — build flags, esptool, merged binaries, CI
- Architecture — layer diagram, design decisions
- Development — adding screens, transports, settings
- Hotkeys — full keyboard reference
- Pin Map — GPIO assignments
- Troubleshooting — radio, build, boot, storage
License
GPL-3.0